
How To Find and Beat All the Valkyries in God of War

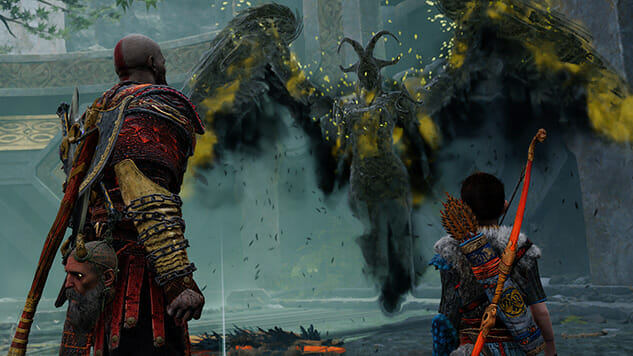
As you traverse the frozen wilds of God of War there’s a good chance you’ll run into one of the game’s optional Valkyrie boss fights, and while these terrifying deities might seem like an impossible challenge at first, they can be beaten if you know how. Since each Valkyrie has her own set of attacks and quirks, we’ve gone and hunted down each of the nine legendary warriors so you can go into these fights prepared and ready to win.
Before you tackle any of the Valkyries it’s worth pointing out that you won’t be able to reach any of them until you’ve obtained a certain magical pick from the main story line. The majority of Valkyries can be found hidden inside underground chambers behind magically sealed doors that you may have seen on your travels, with the exception of Gondul and Hildr, who can be found at the end of the optional realms Musphelheim and Niflheim respectively, as well as Sigrun, who can only be fought once you’ve defeated the other eight Valkyries.
It’s also worth noting that since these fights can be quite tough, so you should always enter with a Berserker resurrection stone which can be bought from Brok or Sindri for 10,000 hacksilver. Keeping one of these stones on hand for each fight will mean that even if you do slip up, you’ll get a second chance to finish the fight (and with the Berserker stone, you’ll be revived with a full bar of Rage, giving you another advantage in the fight). You’ll also want to make sure you have a light and heavy runic attack slotted into both of your weapons as these can stagger every Valkyrie and give you an opening to attack in tough situations or disable an incoming attack that might have otherwise killed you.
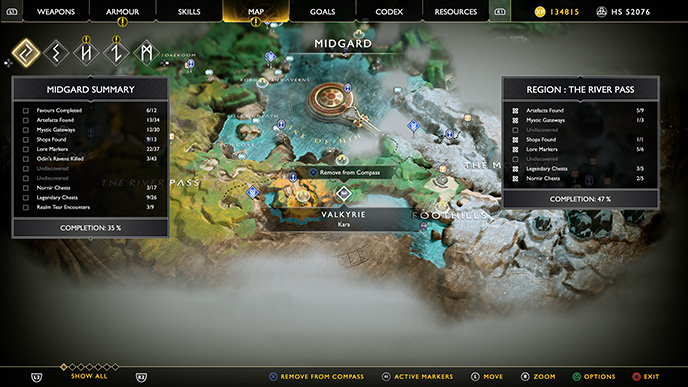
Kara
South of the Lake of Nine in between The River Pass and Foothills in Midgard
Kara can be a difficult fight due to the waves of extra enemies she spawns, which will often attack you from behind as your focus is set on the Valkyrie. The best strategy is to use the Chaos Blades to attack Kara, as these will often attack in a large radius and deal moderate damage to any nearby Draugr that get caught in the crossfire. Liberal use of Atreus’ lightning arrows will also help you maintain control over the extra enemies, especially if you’ve fully upgraded them to arc to more enemies.
The rest of the fight is fairly standard. Stay close to her, but far enough away that you can see her animations when she flies up into the air. Make sure to dodge the unblockable golden disc toss attack she throws when airborne, and keep your shield up for her other airborne attack where she fires several lightning sparks at you. When on the ground, Kara will try to attack with a double wing swipe and the occasional volley of thrown black projectiles, both of which can also be blocked. Simply block or dodge what you can before countering with a combo of your own alongside a constant stream of Atreus arrows and she will go down fairly quickly.
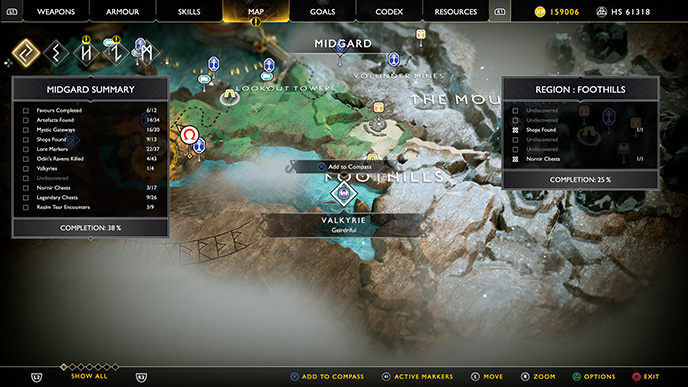
Geirdriful
Midgard, southern edge of The Foothills
Geirdriful can be a bit of a handful, as she favors dash attacks and comes with a bunch of unblockable moves that can catch you off guard if you’re not quick enough. One of her most dangerous attacks is an arena-wide flash of light that deals a moderate amount of damage and causes you to be blinded for several seconds, masking her attacks and making you incredibly vulnerable in the process. If this happens, raise your shield as soon as you can and be prepared to dodge roll away from any incoming attacks. You can sometimes figure out what she’s about to do if you listen closely enough, and Atreus can still shoot at her so firing off a few arrows can help you locate her if you’re not sure which way to look.
Geirdriful’s other major attack comes in the form of a dash that she will do after going airborne. This attack acts as a grapple if she gets close enough, so make sure you dash left or right, otherwise Kratos will take a considerable amount of damage. The good news is that she will be vulnerable to an attack combo after missing, so be sure to get in with some attacks before backing away and putting some distance between you and her.
The rest of her abilities aren’t nearly as threatening but still require your focus to properly counter. Along with the unblockable golden disc throw from being airborne, Geirdriful also has an unblockable ground dash that you need to roll away from, after which she will usually follow up with any number of her standard ground attacks. Once she’s done her follow up attacks, she will be vulnerable to a standard combo, so sink some damage into her before backing away with your shield raised. Her other unblockable attack will see her dig into the ground before unleashing a wave of golden energy in a line towards you. When you see this animation starting try to get into dashing range from her as she will become vulnerable to another combo once you’ve dodged past this attack.
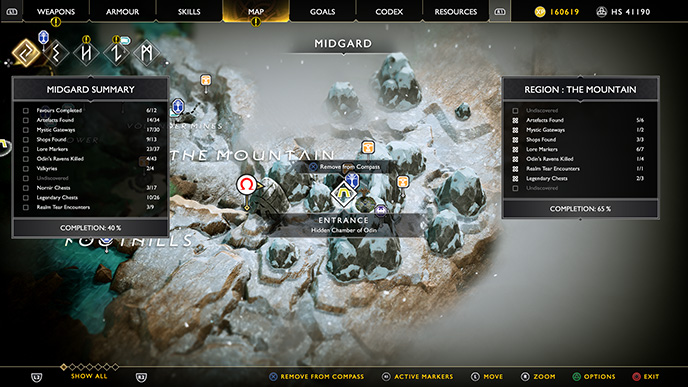
Eir
Midgard, on the ground floor of the shaft that takes you up to the summit
Eir is a very melee-focused fighter and her attacks will often put her right up in her face while pulling off some very fast attacks that can be difficult to dodge. Her most dangerous attack will see her rise up into the air and perform a twirling animation before slamming down and causing moderate damage across the entire arena. This attack flashes red to suggest it isn’t blockable, but you can interrupt it with a well placed shot from Atreus. To get through this might, be sure to keep at least one or two arrows free in Atreus’ quiver, and make sure you get used to firing off a quick volley whenever she rises into the air.
Once you’ve gotten used to spotting her arena-wide slam, the rest of the fight is fairly easy. Eir will regularly attempt to dash towards you with a mini area of effect light flash slam, which can’t be blocked but can be dodged by rolling backwards. Eir will quickly follow up with another scythe swing, which you can dodge roll to the side to evade before returning with your own combo to get some damage on her.
During the course of the fight Eir will regularly raise her wings to act as a shield against your attacks. You can easily break through this and make her vulnerable if you have unlocked the shield break skill for Kratos, which will allow you to double tap L1 to smash through her defenses whenever she attempts to guard. If you mistime this, or if you’re unable to break her shield, be careful as the wings will cause damage as they unravel from her guarding stance.
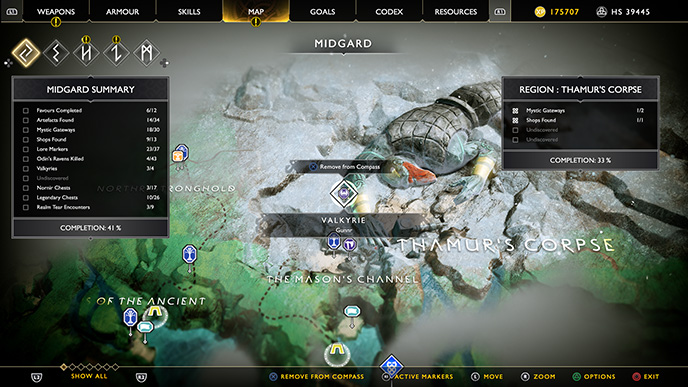
Gunnr
Next to Thamur’s Corpse in Midgard, right next to the dock
Gunnr is one of the easier fights as almost all of her attacks can be parried, and her animations are long and clearly telegraphed. Throughout the fight, Gunnr will attack with her scythe, either as a dash after going airborne, or along the ground in a straight line. To finish the fight, simply parry on the first strike of either attack, then return with your own combo before backing away and letting her start the process over again. The only unblockable attack that she uses is a short range thrust, which she will usually attempt to do after using her wing slash combo, so be mindful whenever this attack ends and prepare to evade to the side if necessary.
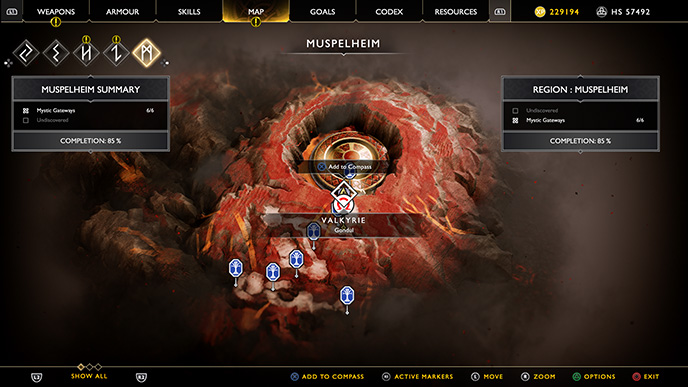
Gondul
The last trial of the Muspelheim realm. Complete the previous trials to reach the summit and get to her
Gondul is a formidable foe thanks to her lightning fast attack animations and devastating grapple and fire attacks which can be used from long distances. During this fight, you’ll have to be observant of her attack patterns and quick to react if you want to survive, especially since a couple of them look fairly similar up until the last second.
Gondul’s nastiest attack can be used from any distance and has her raise her arm in the air to summon a small ring of fire at your location, before jumping into the air to try to land on you. Both of these attacks are unblockable so you’ll need to dodge to avoid taking damage. The important part is timing, as Gondul drops down about a second or so after the fire circle forms. If you roll twice rapidly to avoid the fire, she will more than likely grab you, so be sure to only roll once, wait a beat, and then double roll away to make sure you clear her attack. After landing, Gondul becomes vulnerable for a few seconds, so use this time to get a combo in before backing away and raising your shield.
Gondul’s other fire attack is a little more obvious, and is typically used from long range. After raising her arm, a line of fire will start to fall from the sky from her location directly towards you. This can be dodged fairly easily if you’re standing a far away, but at close ranges you’ll need to be quick to avoid taking damage and potentially getting set on fire.
The only other attack you should be mindful of is her aerial stun attack, which looks and acts exactly like Eir’s. To counter this, make sure you keep a few arrows spare in Atreus’ quiver and shoot her down whenever she starts to spin her weapon. Gondul will also occasionally attack on the ground by spinning her wings constantly like a tornado, which you should attempt to block as this can dish out a considerable amount of damage.
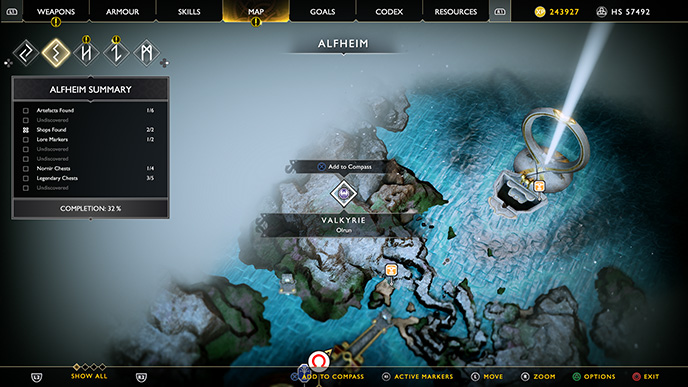
Olrun
Alfheim, accessed by boat after rowing to the western shore of the large lake
Olrun offers up a fairly easy fight as most of her attacks are predictable and easy to block. Along with the standard wing attack that other Valkyries have, Olrun will occasionally start spinning and throwing several projectiles your way. After doing either of these attacks she will always follow up with an unblockable lunge which you should sidestep before returning with your own combo. Rinse and repeat this until she goes down. Heavy use of Atreus’ stun arrows can also make the fight go quicker as they will keep the weakness debuff on her, which will decrease her defense.
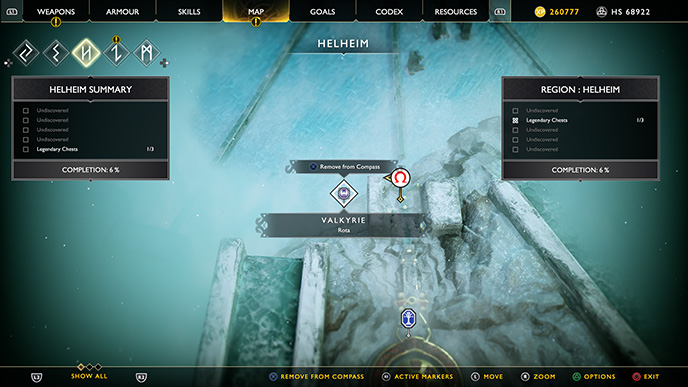
Rota
Helheim, just before the gate leading to the fight with the bridge guardian. Head up the ledge before the gate and follow the passage on the left across the chasm
Rota’s main attack pattern isn’t particularly complex, but her attacks are devastating if they connect, and her attack animations can be easy to miss as she will often dart around the arena at top speed. Rota’s primary attack is a straight aerial dash towards the player, performed three times. This attack in unblockable and must be dodged, otherwise she will grapple and pummel Kratos into the ground. Once she has dashed three times, she will land on the ground and be vulnerable, so make sure you follow up with a combo to get some damage onto her during these windows.
Rota’s only other big attack is the same as Gondul’s from Muspelheim. She will quickly jump into the air and then attempt to land on top of you a second later. This attack can come out quite quickly, so be sure to have the dodge button at the ready, as this will shave a considerable amount of health off of you if it connects. Once she lands, she will sometimes attempt to follow up with the double wing attack, or she will try to retreat and then throw several light bolts out which can be blocked. Simply take your time and pay attention to her animations and you’ll take her down fairly easily.

Hildr
Niflheim, southwest of the entrance to the maze
One of the more challenging Valkyries, Hildr presents a unique problem as she can be found deep inside the Niflheim maze, which is shrouded in a fog that slowly depletes your health. To find Hildr, the best method is to stick to the left as you enter the maze from the starting chamber. You’ll come across at least two seperate wall crushing corridor. Take the left passage each time. When you get past the second trap corridor, turn left and you should see a narrow corridor with two pairs of spinning blades going up and down it. Navigate past these and you should now be in the chamber containing the Valkyrie.
The pressure is on in this fight because of the mist, but fortunately the fight itself isn’t that complicated once you get to grips with her three regular attacks. For this fight you should try to stay at medium range and let her cast her ice barrage, which lasts for several seconds and can be blocked. Once she has used that she will always follow up with a final unblockable ice blast that you need to dodge. Do this right and you can now dash towards her and strike with a combo of your own.
The only other attacks you need to be aware of are her aerial dash which needs to be dodged otherwise she will grapple you. She also has a sweeping ground projectile which shoots towards you in a line. After using this she will attempt to follow up with a dash and scythe sweep, both of which you should try to dodge away from. If you made it through this assault unscathed, you can now return with a combo of your own.Thankfully there’s no need for Atreus to interrupt anything here so feel free to pepper her with stun arrows to stack the weakness debuff where possible.
Sigrun
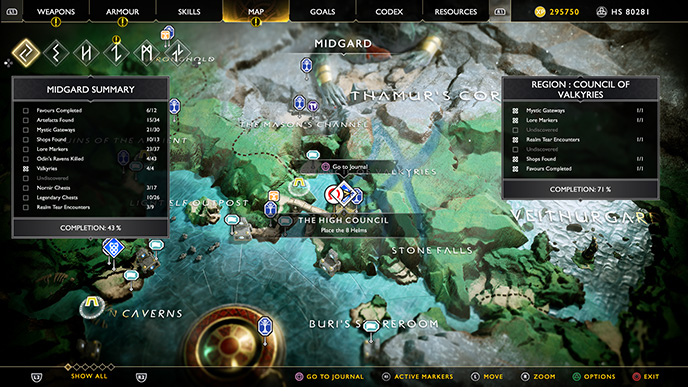
Council of Valkyries in Midgard, on the northern edge of the Lake of Nine
The ninth and final Valkyrie, Sigrun can only be tackled once you’ve beaten all eight of the accessible Valkyries across Midgard and the neighbouring realms. Once you’ve bested the rest of these warriors, take their heads to the Council of Valkyries and place them onto their respective thrones. After placing the eight head, a dimensional tear will appear in the centre of the circle, and interacting it will start the fight.
Fighting against Sigrun is one of the toughest battles in the game. Acting as an amalgam of her eight predecessors, Sigrun’s skillset is borrowed directly from her counterparts, so you can expect to see almost every dangerous skill you’ve previously faced being employed during this encounter. To make things worse, Sigrun doesn’t tend to follow a pattern like some of the other Valkyries, so it can be hard to get into a steady rhythm when trying to predict what move she will use next.
Ultimately this fight will boil down to how observant you are, and how quickly you can react to her various tells and telegraphed animations. It’s also worth noting that she has the large arena-wide flash stun, which deals considerably more damage now, so be sure to conserve Atreus’ arrows in case you need to interrupt her at short notice. Regular use of the light and heavy runic attacks can help to create some breathing room if you need to heal from a health gem, and be sure to make the most of Atreus’ summons when they come off cooldown too.
The key to winning this fight is knowing when to attack, and when to back off. It isn’t an easy fight by any means, and you will be better off taking it slow and holding off on an attack if it could potentially leave you vulnerable. By making it a war of attrition, with a few pokes here and there, you’re much more likely to survive against the numerous attacks being thrown at you.
Andy Moore is a gaming freelancer based in the UK. When he’s not writing, he can be found staring blankly out of the nearest window, or spending way too much time on Twitter.