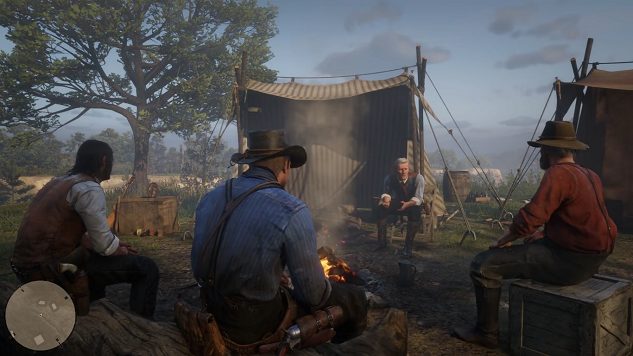
A Red Dead Redemption 2 Camp Guide: What to Do There and Why, We Reckon

One of the weird things about Red Dead Redemption 2 is that, despite dumping tons of information on you, it doesn’t always explain itself that well. Case in point: for much of the game your itinerant band of outlaws will be based in a camp that offers various services and serves multiple purposes, most of which aren’t clearly laid out by the game. Let’s straighten that up a bit.
Your crew’s camp isn’t just a place to sleep. Here you’ll eat, talk, play games like poker and dominoes, and even sing songs around a campfire. It’s also where you store all your various outfits and hats, and where you can stock up on food and ammo. Eventually, you’ll even unlocked a limited version of fast travel here; if you’ve played the game at all, you know how vital that will be after spending countless hours on the trail between towns and missions. The camp is the most crucial spot in the game, and it’s important to understand how it works. So here goes.
It’s Good For Sleeping
The most obvious use for the camp is getting sleep. You can actually camp almost anywhere in the game—setting up camp is an ever-present option in the menu wheel—but when you head back to camp you can just walk up to Arthur Morgan’s bed and pick how long to sleep. Sleeping is an easy way to restore all of Arthur’s cores, and also lets you control the clock so you don’t have to stand around waiting for the right time to come around. It’s important to keep an eye on Arthur’s status, and sleeping at camp is the quickest way to get him right.
It’s a Real Fixer-Upper
One of your first goals once you set up camp at the start of the second chapter should be to unlock the camp’s ledger. You won’t have access to that until after finishing the Money Lending and Other Sins mission, where you help the camp’s money-lender, Leopold Strauss, collect on some debts. Once that mission ends, the ledger will appear near Dutch’s tent. At Horseshoe Overlook, the ledger will be on the side of Dutch’s tent that faces the cliff; you’ll find it right next to the donation box. With the ledger you’ll be able to use the communal camp funds to buy various upgrades for the camp, from aesthetic updates to your tents, to a better selection of ammo, food and health items. And if you want to unlock fast travel, which should be a priority, you can do that after upgrading both Dutch’s tent (which costs $220) and Arthur’s (which is an additional $325). After upgrading Arthur’s tent, you can then upgrade everybody else’s lodging for $300, which will improve morale and make others donate more money and items to the camp fund.
Other upgrades to target:
Leather Working Tools ($225): Pearson, the camp cook, can use these to craft new bags that’ll let you carry more stuff.
Chicken Coop ($175): If you buy a coop, Pearson can add egg to the daily stew, and that extra protein will boost the health properties of slurping down a big ol’ bowl.
Horse Station ($300): This upgrade lets you recall any horses you might have stabled or left throughout the country.
Eventually you can also buy a boat. Uh, that spoils some story stuff, but hey: it’s a boat. Boats are cool. Get psyched for that boat, y’all!