
5 Apple Pencil Tips & Tricks All iPad Pro Users Need to Know
Photo by Denys Prykhodov / Shutterstock
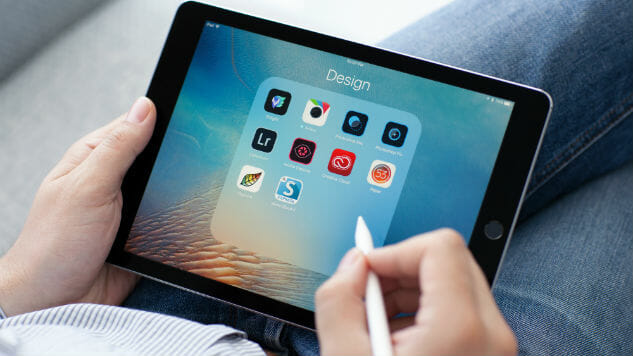
There’s a misconception that the Apple Pencil is only useful for professional artists. In my experience, that couldn’t be further from the truth! Ever since I bought it when it was released, I’ve been using it daily even when I am not doodling or taking notes as a great companion to the iPad Pro.
Despite its hefty pricetag, the Apple Pencil has proven to be an important accessory for creators and novices alike. Here are a few tips and tricks that you may not know about your Apple Pencil that will make the experience that much better:
1. Trace Paper
If you put a piece of paper over your iPad Pro, you can use the Apple Pencil to trace through the paper. The display will still recognize the Pencil’s movements and inputs. This works on most regular paper, but it may vary with thicker card stock. Either way, it’s an impressive trick and a really cool way to get started on an illustration.
2. Use It to Navigate
The Pencil is more than a drawing accessory as I use it for more than doodling or taking notes. Believe it or not, my workflow usually consists of using the Apple Pencil to navigate through web pages, apps, etc. You are able to use it to open links, type short messages, and even swipe keyboards like Swype and SwiftKey so you don’t need to lift a finger.
Once you get used to it, the Apple Pencil can actually be pretty useful just as a general input method as a contrast to touch or your detachable keyboard.
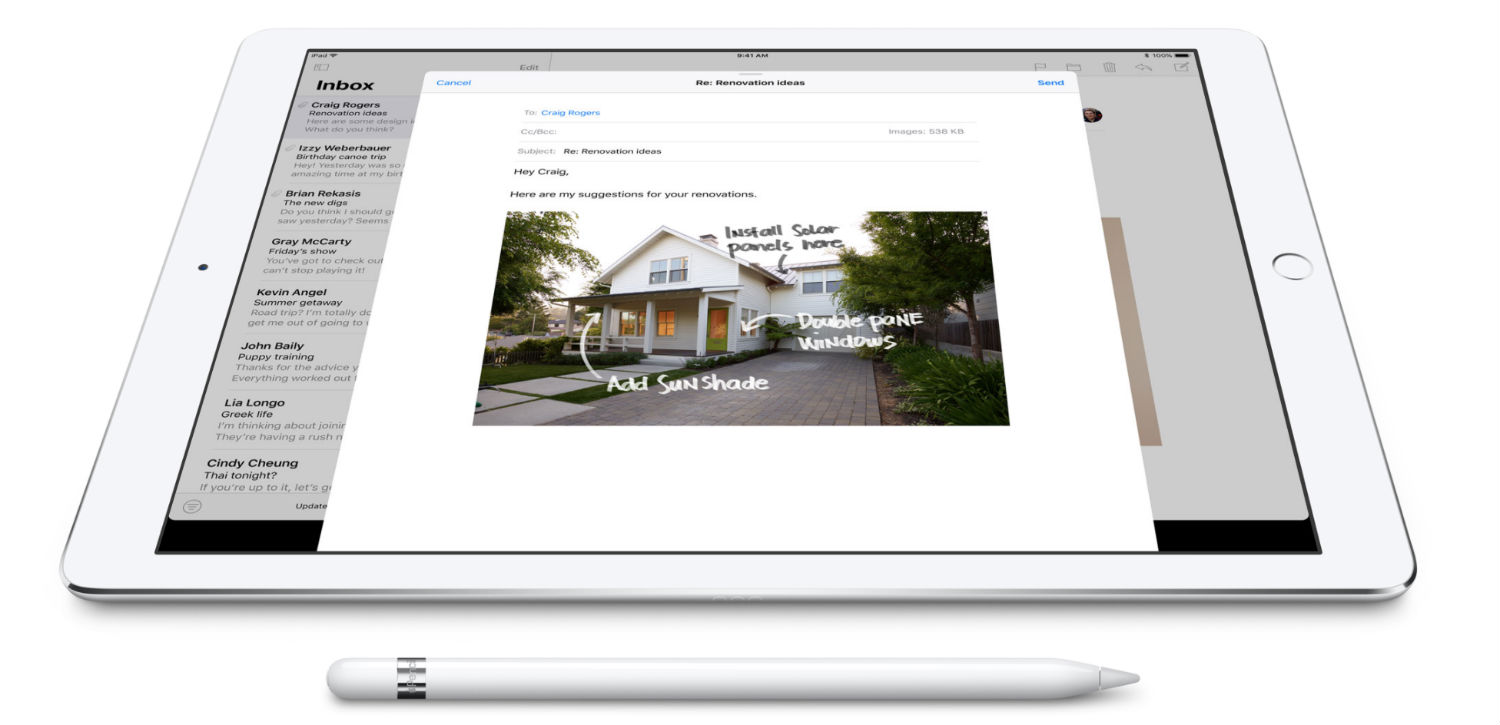
3. Draw Straight Lines
This is another helpful trick for artists or note-takers because as it turns out, drawing a straight line with a stylus is no easier than with an actual pencil. However, with the ruler in the Notes app, you can now draw straight lines.
All you have to do is select Ruler, use two fingers to place it and use the Pencil to draw the along the edge of the ruler.
4. Checking Battery Level
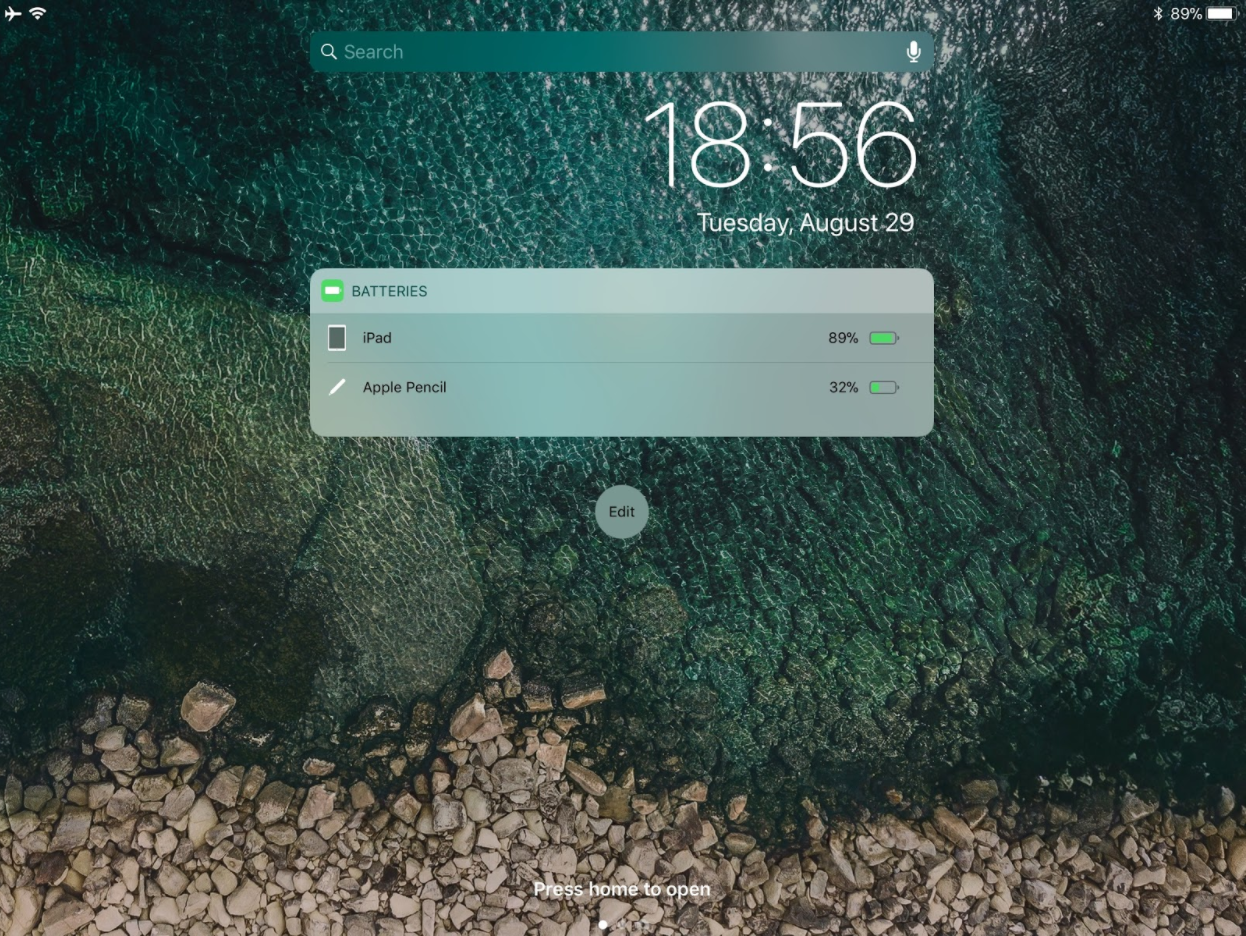
Even though Apple says the Pencil will last 12 hours on a full charge, there is no way to find out how much juice it has left on the Pencil itself as you might expect. Fortunately, there is a way to check within iOS itself.
Just head over to Notification Center and check out the Batteries widget, which will give you the status of both the iPad and the Pencil.
5. Pressure and Tilt-Sensitive
Unlike regular styluses, the tip of the Apple Pencil can register pressure sensitivity (so as long as the app supports it). In other words, press harder against the screen and you’ll get thicker lines.
You can also tilt the Pencil and as you you are drawing to add some shade to your drawing. Depending on what brush or pencil you’re using, tilting the Pencil can also add different texture, such as the edge of a paintbrush.
Bonus Tip: How to Store Your Pencil
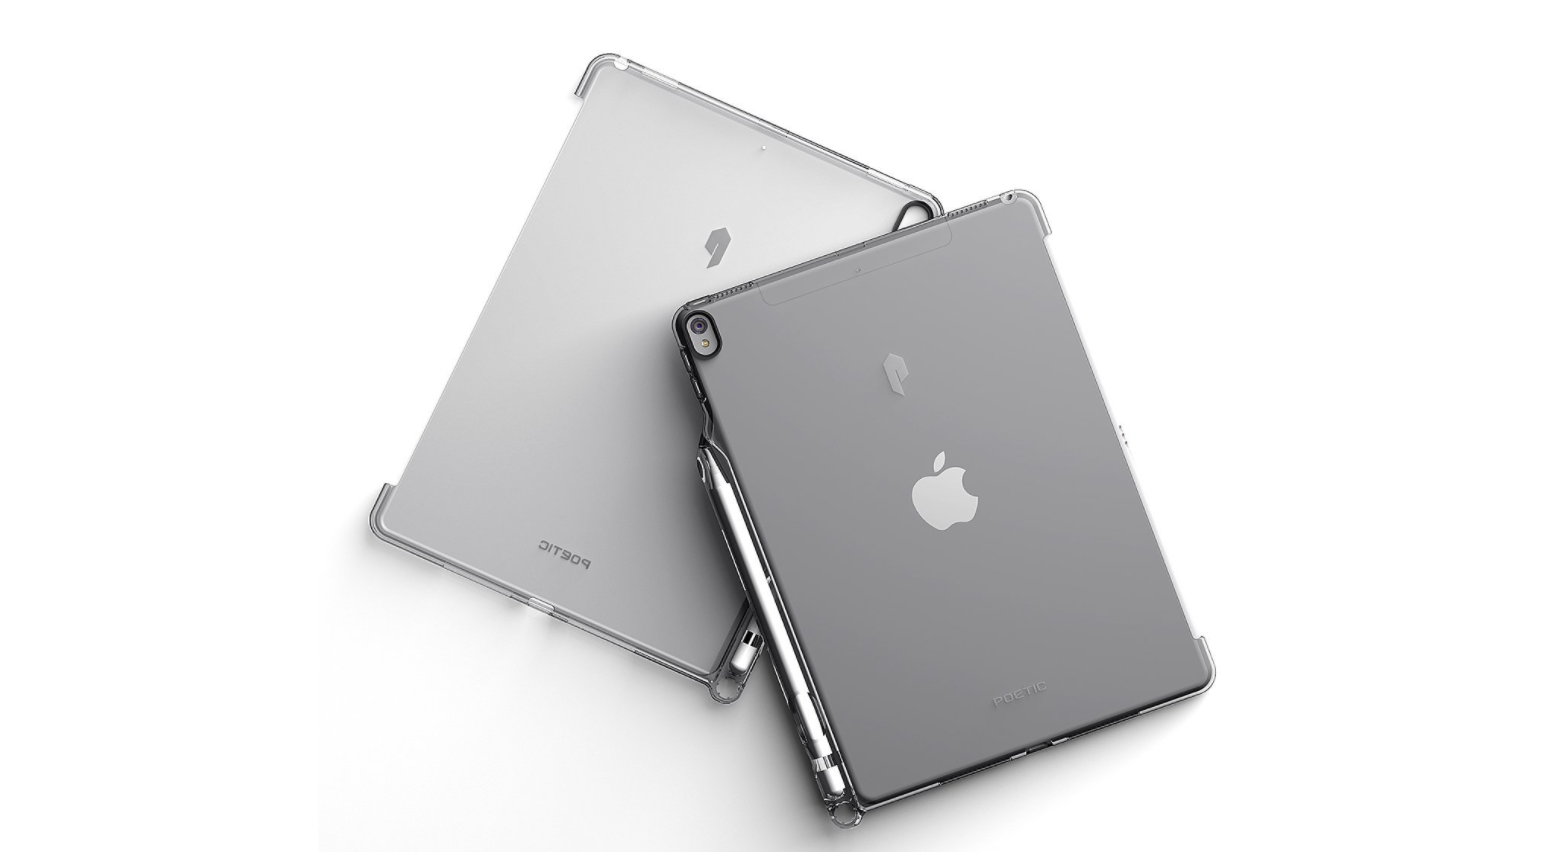
While the Apple Pencil is a great accessory, there is no good way to store it unless you want to buy Apple’s useless Pencil Case ($29) or over-priced Leather Sleeve ($129).
However, there are a number of cheaper options out there that will get the job done. The one i’ve been using is the Poetic iPad Pro case, which has a Pencil holder and is only $14.99. It is even compatible with the Apple Smart Keyboard and Smart Cover!