
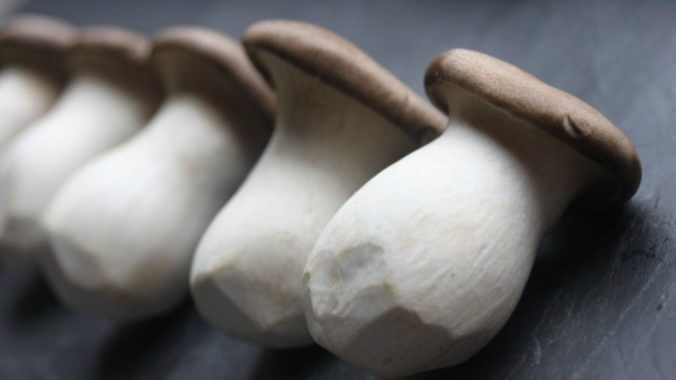
Learn How to Grow Your Own Mushrooms at Home
Photo by Megumi Nachev/Unsplash
Growing your own food at home isn’t just a move that can help you save money—it’s also a great way to foster a deeper connection to your food, which can make every bite that much more delicious. But while it’s relatively easy to start growing parsley or basil at home, growing your own mushrooms comes with a slightly bigger learning curve. As long as you have the right information and equipment, though, you could be enjoying your first crop of home-grown indoor mushrooms in a matter of weeks or months.
1. Decide what kinds of mushrooms you want to grow.
First of all, you have to think about the kind of fungi you want to grow. That might be an easy choice if you already have a favorite variety, but you may also want to consider what’s easiest for beginners. Pearl oysters are one of the simpler beginner varieties since they’re relatively easy to grow. Dominique Kline, Farm Manager at The Hope Farm in Fairhope, Alabama, suggests lion’s mane, “a beautiful cream-colored toothy mushroom (with some incredible health benefits) that colonizes substrate quicker than many other species.”
2. Buy a kit or start from scratch.
When you first start your fungi-growing journey, you may find it easiest to start with a growing kit. “My recommendation would be to first try something like an all-in-one bag or a ready-to-grow bag that has been pre-colonized with the mushrooms you’d like to grow. It’s the easiest way for a beginner to get their feet wet,” said Andrew Bolitho, owner of mushroomspawnstore.com.
According to Kline, kits generally come with a substrate (“a sterile, hydrated material to act as food for the mycelium”) along with the mushroom culture and a bag that retains humidity around the growing mushrooms. By choosing this route, all you’ll really have to do is open the bag to give the mycelium some oxygen and make sure the growing environment is cool and sterile.
However, if you want to learn more about growing mushrooms or don’t have access to a kit, you can start growing your fungi from scratch. “To prepare everything from scratch will require a pressure cooker to sterilize grain, specialized bags designed for mushroom cultivation, whole grains like oats or rye, compost or hardwood-chips/pellets (depending on species) and Rubbermaid containers or those little greenhouse tents for seed starting,” Bolitho said.
3. Inoculate the mushrooms.
Depending on what kind of kit you’re using (or if you’re growing your fungi from scratch), you may have to inoculate, i.e., plant, the mushrooms. You can choose to plant mushroom spores or spawn, but spawn, which some compare to seedlings, tends to be simpler for beginners. You can use a syringe to inoculate the substrate.
At this point in the process, you’re going to want to make sure you’re keeping things clean. “Sterility is crucial,” said Bolitho. “Sterile handling procedure must be adhered to; otherwise, you will introduce contamination and lose all the materials and time invested. 70% isopropyl alcohol is your friend and actually works better than a higher percentage alcohol.” If you opt for a fungi-growing kit, you’ll likely receive all the info you need regarding how to keep your growing environment safe and sterile.
4. Keep your fungi warm at first, then cool it down.
Generally, mushrooms like to hang out in cool, dark places. During most of the growing process (and depending what mushroom variety you decide to grow), you’ll want to make sure the temperature stays around 55 to 60 degrees Fahrenheit, which is why you may want to place your mushrooms in a basement, garage or similar area. But at the beginning of the growing process, your baby mushrooms can take more heat. For a few days, you’ll want to keep them around 70 degrees while they incubate.
5. Make it moist.
Not only do you have to make sure your fungi stay at the ideal temperature, you’ll also want to keep them moist to provide the most ideal growing condition for your fungi. The vast majority of mushrooms varieties are going to require quite a lot of moisture—you’re looking at a humidity level of 80 to 90 percent. Growing mushrooms in bags is one way to lock in that moisture, but some indoor growers use misters instead.
6. Harvest your mushroom crop and enjoy.
If you’re starting your mushrooms from scratch, it could take a few months to yield edible mushrooms. The best way to tell when your mushrooms are ready to be harvested? “Use photos of harvested mushrooms to help identify which stage is ideal for your variety, as the window of time between ideal and past prime is relatively small,” said Kline.
Use a clean knife to cut the mushroom at its base, ensuring you don’t disturb the substrate. In some cases, you may be able to pull the mushrooms from the substrate without using a knife. The best part? Kline told us, “Depending on the variety, you may be able to get subsequent flushes [crops] after your first harvest.” These mushrooms will generally grow more quickly than the first batch.
The process of growing your own mushrooms at home can be fascinating and yield delicious results. Although it takes some time and energy to learn how to grow mushrooms properly, once you figure it out, you may just realize that it’s the best way to source delicious mushrooms without a weekly trip to the farmers market.
Samantha Maxwell is a food writer and editor based in Boston. Follow her on Twitter at @samseating.