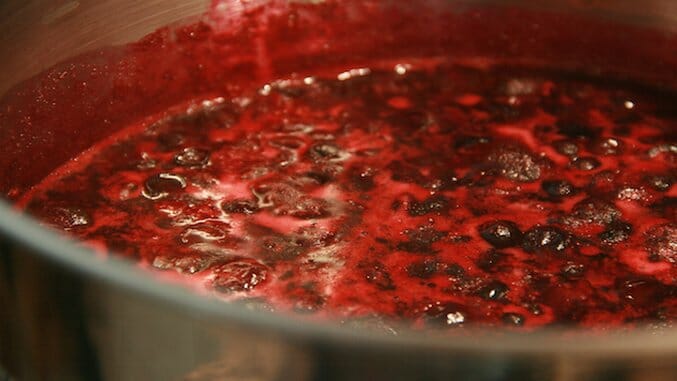
6 Tips For Getting Your Jam On

6 Tips For Getting Your Jam On

Seasonal fruit makes me feel like a drug addict: it makes me excited and a little anxious that I won’t eat enough of them in their short season. So when cherries first show up, I buy five pounds just because I can. Fresh apricots get hoarded, and somehow, I always “accidentally” pick 20 pounds of organic Chandler strawberries with my family. I discovered the hard way that there is a limit on how many pies, cobblers and crisps a person can consume a year (mine is 33), and I wanted those flavors to last year-round. So I let my inner grandma shine and got my jam on. There is nothing quite like drowning in a sea of strawberry hulls and juiced lemons, with at least one fresh burn on my arm and my clothing covered in mysterious sticky bits.

Jam is probably the easiest of fruit preserves to make. It’s not picky like jelly, which requires you to strain the fruit out of the syrup. You don’t have to double cook it like you would a fruit butter. But jam does have a fairly strict set of rules you’ll need to follow, unless you enjoy getting burned on awkward body parts or throwing away four hours of work because you just had to send that email in the final stages of cooking your blackberry jam. Learn from my experience, and find out how to get a little bit of spring and summer all year long.

1. Start with a few good jam cookbooks
A good jam book will not only give you tested recipes, but it will also explain in great detail how to make jam, test if it has gelled, and how to experiment with different flavors and spices. I like starting with The Complete Book of Small-Batch Preserving when I am making an unfamiliar jam because it offers recipes that yield a small amount, allowing me to test a few different recipes. I like to pair it with a specialized jam book, like The Blue Chair Jam Cookbook. This book has pages dedicated to describing different fruit varieties, spice pairings and how to get the true essence of the fruit into your jar of jam.

2. Cover your body for splatter control
Hot jam burns like the devil, so this is not time to dress fashionably or skimpily. No open-toed sandals, short-sleeved shirts, shorts or short skirts. Jam is pretty smart. It will find that one bit of naked skin showing and burn the crap out of you. The weirder the spot – -the crook of your elbow, your cleavage, etc. — the more likely it is to get burned. Treat jam making like cooking bacon and protect yo self.

3. Use the largest pot you can, no matter how small the recipe is
Fruit and sugar like to bubble up and foam in the early stages of jam. The best type of jam pot is large and has a lot of surface area, which means the liquid will reduce quickly and evenly. Also, consider making your jam in small batches. If you try to stuff too much fruit and sugar into a pot, be prepared for jampocalypse on your stove top.

4. Cook in small batches
Cooking your jam in small batches won’t just save your stovetop from a sticky, gooey mess — it also helps preserves that fresh fruit flavor. The longer you cook a jam, the less the fruit will taste raw, and when you cook in large batches, the jam will take longer to cook. Plus, cooking fruit too long could destroy the pectin in the recipe, which means it won’t gel properly. If you’re going through the trouble of preserving the best seasonal fruit you can find, be nice to it. Small batches are your friend (even when trying to can 20 pounds of strawberry jam).

5. Cook jam with as few distractions as possible
There are a few seconds between beautifully preserved fruit and a burned, disgusting fruit-flavored sludge, so avoid doing anything else that requires too much of your attention. Think of jam making like a baby who just learned to walk: turn your head for a second and all hell will break loose. A burned jam is enough to make a grown woman cry.

6. Check the set on your jam
An overcooked jam will be stiff and hard to spread when cool, and an undercooked jam will be runny and more syrupy. If you crave the perfect gel from your jam, there is a quick test you can do to see if it is thick enough before you can it: the plate test. Place a few plates in the freezer before beginning to make your jam. When you think your jam is thick enough to gel, remove the pot of jam from the heat and place a spoonful of hot jam on a frozen plate. Put the plate back in the freezer for two minutes. If the jam has gelled, it will move slowly when you tilt the plate. If it runs off of the plate quickly, cook the jam for another two minutes before doing the test again.

 
Join the discussion...